What Are Essential Maintenance Tips for Chicken Coops?"
Ensuring the upkeep of your chicken coop is crucial for the well-being of your feathered companions. From inspecting the roof to keeping predators at bay, each maintenance task plays a vital role in creating a safe and comfortable environment for your flock. By following these essential tips, you can provide your chickens with a healthy living space that supports their overall health and happiness. Now, let's explore these maintenance tips in more detail to keep your coop in top shape.
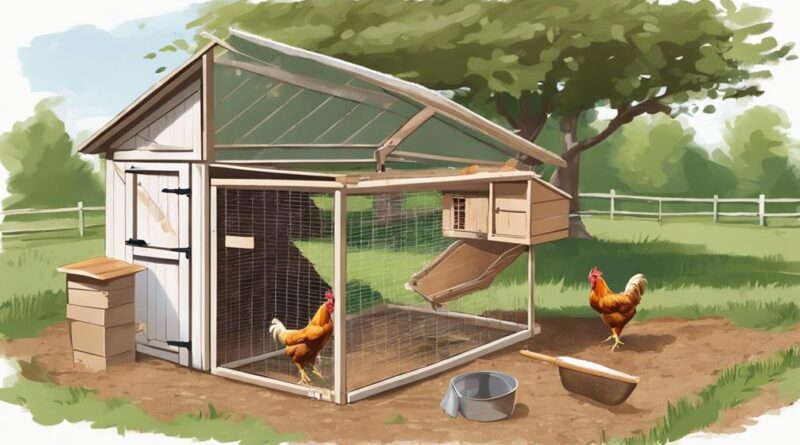
Roof Inspection and Repair
When conducting essential maintenance on your chicken coop, begin by thoroughly inspecting and repairing the roof to ensure the structural integrity of the entire coop. The roof is a critical component that protects your chickens from the elements and provides insulation. Start by checking for any signs of damage such as missing shingles, holes, or leaks. Inspect the roof from both the inside and outside to identify any issues that need addressing.
For the roof inspection, look for areas where water could potentially seep in and cause damage. Pay close attention to the seams, edges, and corners of the roof. Use a ladder to access the roof safely and carry out a close-up examination. If you spot any damage, consider using sealant to patch up small holes or cracks. For more extensive repairs, you may need to replace damaged shingles or sections of the roof.
When repairing the roof, make sure to use materials that are suitable for outdoor use and can withstand varying weather conditions. Follow proper techniques when replacing shingles or applying sealant to ensure a secure and watertight finish. Regularly maintaining your coop's roof will prolong its lifespan and keep your chickens safe and comfortable.
Ventilation Systems Check
To ensure optimal conditions for your chickens, conduct a thorough check of the ventilation systems in your coop. Proper ventilation is essential for maintaining good air quality, humidity control, and preventing the buildup of harmful gases in the coop. Start by checking that all vents are clear of debris and open to allow for adequate air circulation. Ensure that the vents are positioned to promote good airflow throughout the coop, preventing stagnant air that can lead to high humidity levels and odor issues.
Inspect the ventilation system for any signs of blockages or damage that could hinder proper air exchange. Proper ventilation not only helps with humidity control but also plays a role in preventing condensation buildup, which can lead to mold and mildew problems. Address any issues promptly to maintain a healthy environment for your chickens.
In addition to checking the physical ventilation components, consider implementing additional measures such as installing exhaust fans or adjustable vents to improve air circulation further. These additions can help enhance ventilation during periods of high humidity or heat, ensuring a comfortable and safe environment for your flock.
Regularly monitoring and maintaining your coop's ventilation system is crucial for the overall health and well-being of your chickens. By prioritizing proper airflow, humidity control, and odor prevention, you can create a conducive environment that supports your birds' health and productivity.
Flooring Maintenance and Cleaning
For effective maintenance of your chicken coop, it's essential to regularly clean and inspect the flooring to ensure a healthy and hygienic environment for your flock. The coop flooring plays a crucial role in your chickens' well-being. Start by removing all the chickens from the coop and then scrape off any droppings, feathers, or leftover food particles. Use a shovel or a rake for this task. Next, sweep the flooring to remove smaller debris and dust.
Once the visible dirt is removed, it's time to clean the flooring thoroughly. Depending on the material of your coop flooring, you can use different cleaning methods. For dirt and grime, a mixture of water and vinegar works well for most flooring types. For wooden floors, make sure not to oversaturate the wood. If you have a concrete floor, consider using a diluted bleach solution for disinfection.
After cleaning, let the flooring dry completely before allowing the chickens back in. This helps prevent any bacterial growth or infections. As part of your regular cleaning routine, aim to clean the flooring at least once a week, or more frequently if needed, especially in areas where moisture tends to accumulate. A clean coop flooring not only promotes the health of your chickens but also helps in odor control and overall cleanliness within the coop.
Nesting Box Organization
Organize your nesting boxes strategically to create a comfortable and efficient laying space for your chickens. Proper nesting box organization is crucial for ensuring your hens have a safe and inviting place to lay their eggs. Follow these tips to optimize your nesting box setup:
- Egg Collection: Place your nesting boxes in a dimly lit area to encourage your chickens to lay their eggs there. Ensure the boxes are at a comfortable height for easy access when collecting eggs. Regularly check for eggs to prevent them from accumulating and cracking, which could lead to a messy nesting environment.
- Nesting Material: Provide suitable nesting material such as straw, hay, or wood shavings to line the nesting boxes. This material helps keep the eggs clean, provides insulation, and offers a cozy spot for your hens to lay. Replace the nesting material regularly to maintain cleanliness and freshness in the nesting boxes.
- Organization: Keep the nesting boxes well-organized and spaced apart to prevent overcrowding and competition among your chickens. A clutter-free environment not only promotes egg-laying productivity but also reduces the likelihood of eggs being laid outside the boxes. Ensure the boxes are secure and stable to prevent them from shifting or collapsing during use.
Predators Protection Measures
When safeguarding your chickens in their coop, implementing effective measures to protect them from predators is paramount. To deter predators, consider installing predator deterrents such as motion-activated lights around the coop. These lights can startle nocturnal predators like raccoons or foxes, keeping your chickens safe. Additionally, having adequate coop lighting at night can help dissuade predators from approaching, as they prefer darkness for hunting.
Another crucial aspect of protecting your chickens is predator proofing the coop itself. Ensure that all openings are securely fastened with locks or heavy-duty latches to prevent predators from breaking in. Regularly inspect the coop for any holes, gaps, or weak spots that could be vulnerable entry points for predators. Remember, predators like weasels or snakes can squeeze through surprisingly small openings.
Incorporating coop landscaping can also help enhance predator protection. Keep shrubs and bushes trimmed away from the coop to eliminate hiding spots for predators. Additionally, consider using gravel or rocks around the perimeter of the coop to make it harder for predators to dig underneath fencing.
Regular Feeder and Waterer Check
Regularly inspecting and maintaining your chicken coop's feeder and waterer is essential to ensure your flock's health and well-being. Neglecting these crucial components can lead to contamination, reduced water quality, and potential health issues for your chickens.
Here are some practical tips to keep your feeder and waterer in top condition:
- Feeder Maintenance
- Check the feeder regularly for any signs of damage or wear. Ensure that it's securely attached and stable to prevent spills and contamination.
- Clean the feeder at least once a week to remove any leftover feed, dust, or debris. Use a mild detergent and water solution to sanitize it thoroughly.
- Regularly inspect the feeder's capacity to ensure it can accommodate the needs of your flock. Adjust as necessary to prevent overfilling or shortages.
- Waterer Cleaning
- Clean the waterer at least every two to three days to prevent algae growth, bacterial buildup, and contamination. Use a diluted bleach solution for disinfection.
- Inspect the waterer's valves and seals for any leaks or malfunctions. Replace any damaged parts promptly to ensure a constant water supply.
- Position the waterer in a shaded area to prevent overheating and algae growth. Provide fresh, clean water daily to keep your chickens hydrated and healthy.
Fencing and Security Assessment
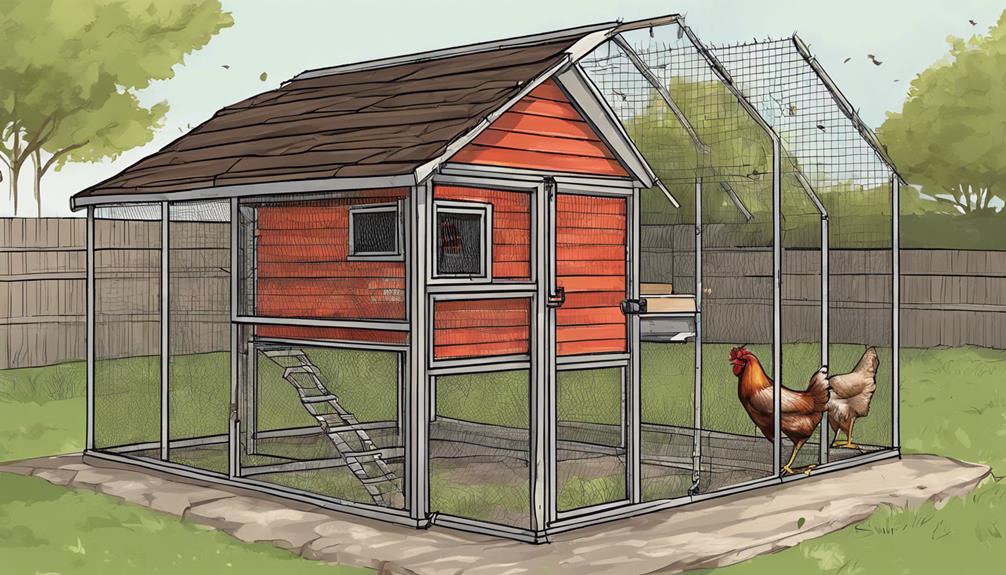
Inspecting the fencing and security measures of your chicken coop is vital for ensuring the safety and protection of your flock. Start by checking the integrity of the perimeter fencing. Look for any signs of wear, damage, or areas where predators could potentially gain access. Make any necessary repairs promptly to prevent any unwanted visitors from harming your chickens.
Consider security upgrades such as adding hardware cloth to reinforce vulnerable areas like windows or vents. This extra layer of protection can deter predators like raccoons or foxes, keeping your chickens safe. Additionally, installing motion-activated lights or cameras can help deter nocturnal predators and alert you to any unusual activity around the coop.
Perimeter monitoring is essential for detecting any breaches in security. Regularly inspect the area around the coop for signs of digging or attempts to access the coop. You can also set up motion sensor alarms or even use technology like GPS trackers to monitor your flock's movements and ensure they stay within safe boundaries.
Seasonal Deep Cleaning and Disinfection
To maintain optimal hygiene and health for your chickens, conducting a thorough seasonal deep cleaning and disinfection of your coop is imperative. Neglecting this task can lead to the buildup of harmful bacteria, pests, and molds that can negatively impact your flock's well-being.
Here are some essential steps to guide you through the process:
- Remove All Bedding and Nesting Materials: Start by clearing out all old bedding, nesting materials, and droppings from the coop. These can harbor pests and contribute to foul odors.
- Scrub and Disinfect Surfaces: Use a poultry-safe disinfectant to thoroughly clean all surfaces inside the coop. Pay close attention to areas where mold and mildew tend to grow, such as corners and crevices.
- Inspect for Pest Infestations: Check for signs of pest infestations, such as mites, lice, or rodents. Implement pest control measures as needed to protect your chickens from these harmful intruders.
Frequently Asked Questions
How Can I Prevent Mold and Mildew in My Chicken Coop?
To prevent mold and mildew in your chicken coop, focus on ventilation strategies and moisture control techniques.
Proper ventilation helps reduce humidity levels, which can inhibit mold growth. Install vents or windows to allow fresh air circulation.
Use moisture-absorbing materials like straw or wood shavings in the coop. Regularly clean and remove wet bedding to prevent mold from developing.
What Are the Best Bedding Materials for Nesting Boxes?
When it comes to choosing bedding materials for nesting boxes, considering your chickens' preferences is key. Options like straw, hay, pine shavings, or even shredded paper can be great alternatives.
Keep in mind that some materials are easier to clean than others. Pine shavings are popular for their absorbency and odor control, while hay may get moldy quicker.
Regularly cleaning and replacing the bedding can help maintain a healthy environment for your hens.
Are There Any Natural Predator Deterrents I Can Use?
To keep predators away from your chickens, natural deterrents like motion-activated lights, predator urine, and sound devices can be effective.
Alternatively, using physical barriers such as fencing with buried wire mesh and sturdy coop construction can also help control predators.
Consider combining these methods for enhanced protection.
How Often Should I Replace Feeder and Waterer Parts?
To keep your coop in top shape, remember to check feeder maintenance regularly and replace waterer parts as needed.
Cleaning schedules are crucial for a healthy environment—weekly cleanings can prevent pests.
When it comes to waterer replacement, every few months is a good rule of thumb.
What Is the Best Way to Sanitize a Chicken Coop After an Illness Outbreak?
To sanitize a chicken coop after an illness outbreak, first remove all bedding and debris. Use a bleach solution to disinfect thoroughly. Ensure proper ventilation during the cleaning process.
Implement biosecurity practices to prevent the spread of diseases. Regularly clean and disinfect the coop to maintain a healthy environment for your chickens. Remember, prevention is key to keeping your flock safe and healthy.
Conclusion
In conclusion, ensuring the proper maintenance of your chicken coop is crucial for the health and safety of your flock.
By regularly inspecting and repairing the roof, checking ventilation systems, and keeping the flooring clean, you can create a comfortable and safe environment for your chickens to thrive.
Organizing nesting boxes, protecting against predators, maintaining feeders and waterers, assessing security measures, and performing seasonal deep cleanings are all important aspects of coop maintenance.
Stay diligent in your upkeep to ensure happy and healthy chickens.